 Skip to content

Outdoor solar lights offer an eco-friendly and cost-effective way to illuminate outdoor spaces without complex wiring. For beginners, successful installation begins with understanding the basics: solar panels convert sunlight into energy, stored in batteries to power LEDs at night. Key steps include assessing sunlight exposure (at least 6-8 hours daily), choosing locations free from shade, and orienting panels correctly (south-facing in the Northern Hemisphere). Proper assembly and mounting on stakes, walls, or poles are crucial, along with testing connections. Common mistakes include placing lights in shade, neglecting panel cleaning, improper spacing, and ignoring sensor interference from ambient light. Maintenance involves periodic cleaning, battery replacement every 2-3 years, and winter storage if needed. Advanced considerations involve choosing motion-activated versus dusk-to-dawn models, panel types (monocrystalline is more efficient), and battery capacity for local climate. Professional-grade products from reputable manufacturers like Hangchi New Energy Co., Ltd. ensure reliability, with features like intelligent controllers, high-quality components, and warranties of five years or more. Hangchi, established in 2018, operates a 20,000-square-meter factory with monthly capacity of 20,000 units, serving over 30 countries. Their products undergo strict quality control (CE, RoHS, ISO 9001) and are suitable for municipal roads, rural areas, and off-grid projects. By following these tips, beginners can achieve long-lasting, efficient solar lighting that enhances safety and aesthetics.
Outdoor solar lighting is an excellent way to illuminate gardens, pathways, driveways, and security areas without the hassle of wiring or high electricity bills. For beginners, installing solar lights may seem straightforward, but following proper techniques ensures optimal performance and longevity. This guide provides comprehensive installation tips, drawing on expertise from industry leaders like Hangchi New Energy Co., Ltd., a professional solar lighting manufacturer established in 2018.
Understanding Solar Lighting Basics
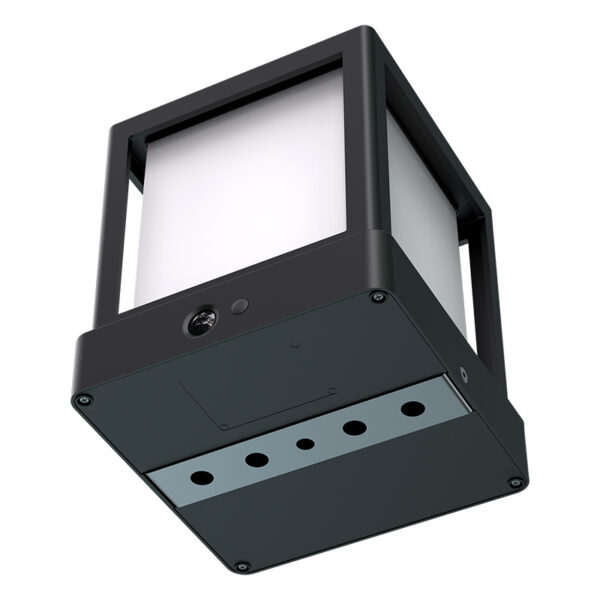
Solar lights work by converting sunlight into electricity during the day using photovoltaic panels, storing energy in rechargeable batteries, and automatically turning on at dusk. Hangchi New Energy Co., Ltd., with its 20,000-square-meter manufacturing facility and monthly production capacity of up to 20,000 units, produces reliable all-in-one solar street lights, split-type solar street lights, solar flood lights, and garden lights. For beginners, knowing the components—solar panel, battery, LED lamp, and controller—helps in selecting the right product for specific applications.
Pre-Installation Planning
Assess Sunlight Exposure
The most critical factor for solar light performance is direct sunlight. Ensure the solar panel receives at least 6-8 hours of unobstructed sunlight daily. Use a sunlight meter or observe the area during different seasons. Hangchi’s team can recommend suitable configurations based on local sunlight conditions, as they have international project experience in Europe, Africa, and other regions with varying climates.
Choose the Right Location
Place lights where they are needed most: along walkways, near entrances, in dark corners, or highlighting landscaping features. Avoid shaded areas under trees, roofs, or structures. For wall-mounted lights, ensure the panel faces south (in the Northern Hemisphere) for maximum sun exposure.
Installation Step-by-Step
Step 1: Unpack and Inspect
Check all components against the manual. Hangchi products undergo strict quality control, including waterproof testing and aging tests, so defects are rare. If any damage is found, contact customer support.
Step 2: Assemble the Light (if needed)
Some models require attaching the solar panel to the lamp arm or bracket. Follow instructions carefully. For split-type solar street lights, the panel and lamp are separate; proper alignment is crucial.
Step 3: Install the Mounting Bracket
Use appropriate hardware for the surface. For ground lights, simply stakes into soil. For wall or pole mounts, drill holes and secure with screws. Ensure the bracket is level.
Step 4: Position the Solar Panel
Angle the panel to optimize sunlight capture. A tilt angle equal to your latitude is recommended. For adjustable panels, set accordingly. Hangchi’s engineering team can provide specific recommendations for different latitudes.
Step 5: Connect and Test
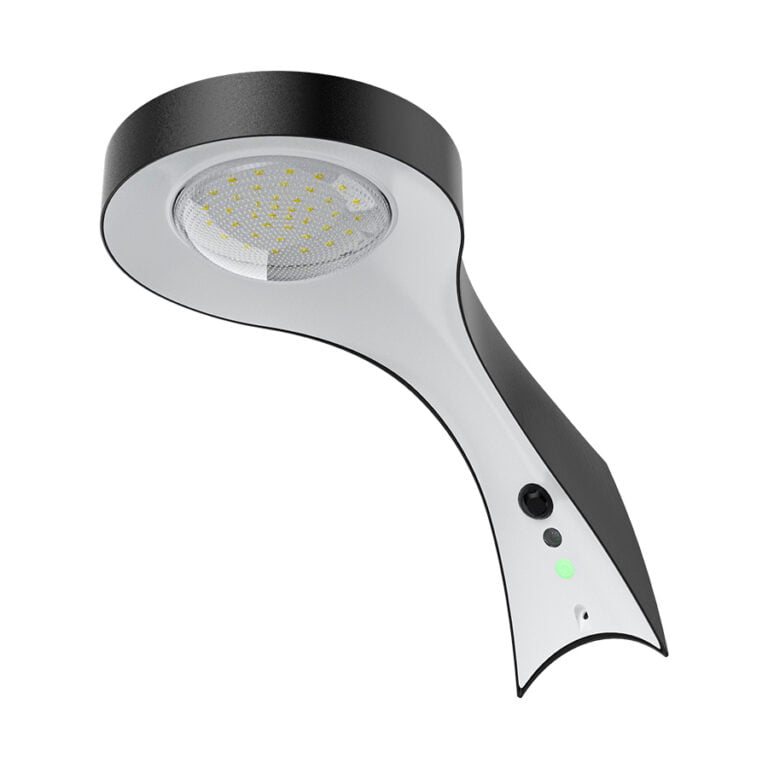
Attach the light fixture to the bracket, connect any wires (for split systems), and switch on. Most lights have an on/off switch. Test during daytime by covering the panel to simulate darkness; the light should turn on. If not, check connections.
Step 6: Secure and Finalize
Tighten all screws and ensure the unit is stable. For security, use tamper-proof screws if needed. Clean the solar panel with a soft cloth to remove dust.
Common Mistakes to Avoid
- Placing lights in shaded areas: This reduces battery charging and may cause dim or short-lived illumination.
- Overlooking cleaning: Dirt and debris on solar panels reduce efficiency by up to 30%. Clean every few months.
- Ignoring local weather: In rainy climates, choose lights with larger battery capacity. Hangchi offers configurations with extended backup for cloudy days.
- Wrong spacing: For pathway lights, space them 6-10 feet apart to avoid dark spots. For floodlights, consider beam angle.
- Installing too close to other lights: Ambient light from streetlights or neighbors can confuse the dusk sensor, causing lights to stay off. Position away from other light sources.
Maintenance Tips for Longevity
Solar lights require minimal maintenance. Regularly check for corrosion (especially in coastal areas), tighten connections, and replace batteries every 2-3 years. Hangchi provides warranties of five years or more on many products, demonstrating confidence in durability. For winter storage (if not used), bring lights indoors to prevent battery damage.
Advanced Considerations for Beginners
Motion-Activated vs. Dusk-to-Dawn
Motion-activated lights conserve battery by turning on only when movement is detected, ideal for security. Dusk-to-dawn models provide continuous illumination, good for pathways. Hangchi’s product line includes both options with intelligent controllers for energy efficiency.
Solar Panel Type
Monocrystalline panels are more efficient than polycrystalline, converting more sunlight into electricity. They perform better in low-light conditions, making them suitable for shaded areas. Hangchi uses high-quality panels in its products.
Battery Capacity and Type
Lithium batteries are lighter, have longer life, and better charge/discharge efficiency than lead-acid. Check the rated capacity (mAh) to ensure the light runs the desired hours. For northern climates, larger batteries compensate for shorter winter days.
Why Choose Professional-Grade Solar Lights?
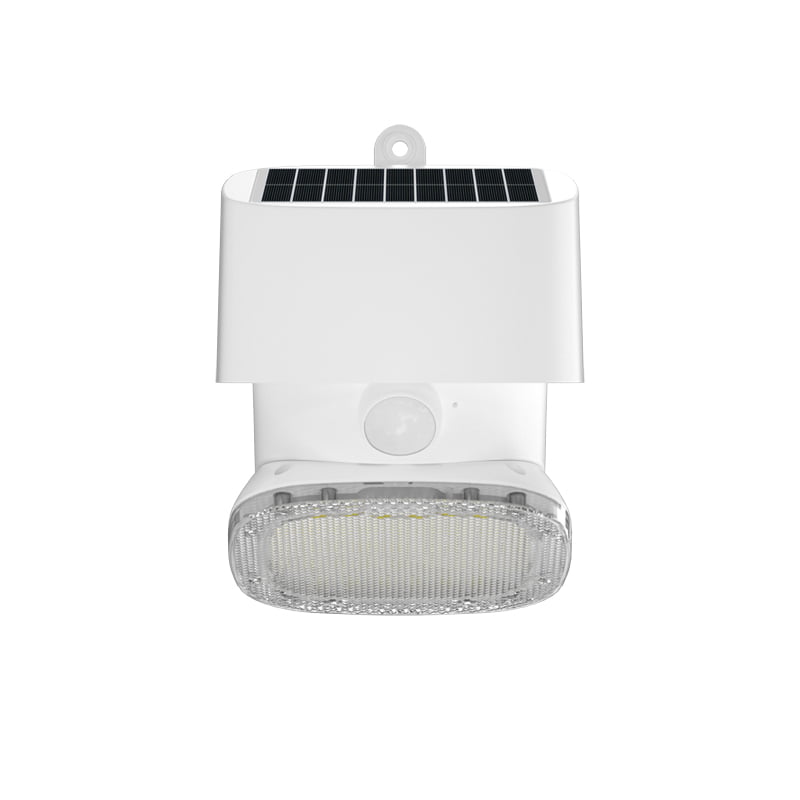
While budget-friendly solar lights are available, professional-grade products from manufacturers like Hangchi New Energy Co., Ltd. offer higher reliability, better performance, and longer warranties. Hangchi’s products are used in municipal roads, rural areas, and off-grid locations across more than 30 countries. Their CE, RoHS, and ISO 9001 certifications assure quality. For beginners investing in outdoor lighting, choosing robust products reduces future hassles.
Conclusion
Installing outdoor solar lights is a rewarding DIY project that enhances safety and aesthetics. By following these tips—proper planning, correct installation, and regular maintenance—beginners can enjoy efficient, long-lasting lighting. For large-scale projects or customized needs, consulting with experts like Hangchi can ensure optimal results. Their experience in international projects and flexible OEM/ODM services make them a trusted partner. Remember: sunlight is your power source; treat it well.
For more information, visit Hangchi New Energy Co., Ltd. – your reliable partner in solar lighting solutions.
